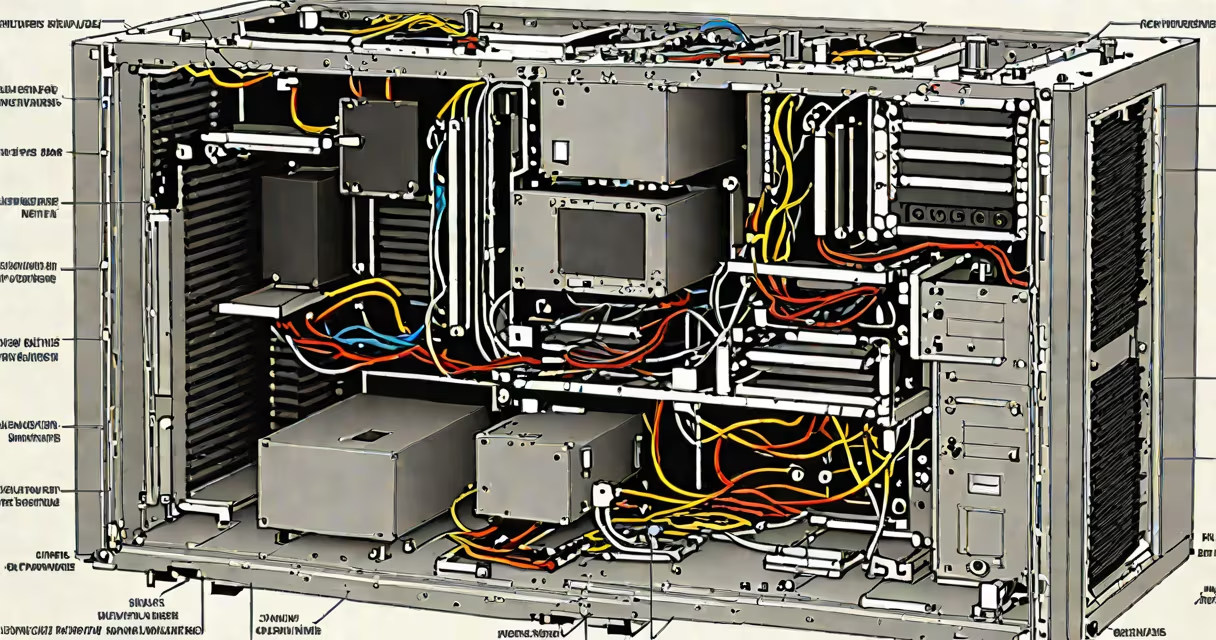
The inside of a computer labeled refers to a diagram or physical setup where each major internal component is marked with its name and function. These labels help users identify parts such as the motherboard, CPU, GPU, RAM, storage drives, and power supply. Proper labeling aids in troubleshooting, upgrading, and maintenance.
When you open a desktop computer case, you see a complex arrangement of hardware connected via cables and mounting brackets. Each piece has a specific role in processing data, storing information, and delivering power. Labels clarify what each component is and how it contributes to system performance.
For example, a typical labeled motherboard shows the CPU socket, DIMM slots for RAM, PCIe slots for graphics cards, SATA ports for drives, and the power connector. Without labels, identifying these parts during repairs or upgrades becomes difficult, especially for beginners.
Inside a computer, components communicate through electrical signals sent over buses and data pathways. The central processing unit (CPU) executes instructions from software. It sends requests to memory (RAM) for data and to storage (SSD or HDD) for files. The graphics processing unit (GPU) renders images and video, especially important for gaming and design work.
The motherboard acts as the central hub. It connects the CPU, RAM, storage, and peripherals via standardized interfaces. For instance, a PCIe x16 slot holds the GPU, while M.2 slots support fast NVMe SSDs. Power is delivered by the power supply unit (PSU), which converts AC wall current into stable DC voltages for the components.
A real-world example: A user builds a PC with an Intel Core i7-13700K, 32GB DDR5 RAM, a GeForce RTX 4070, and a 1TB NVMe SSD. On a labeled diagram, the CPU sits in a square socket on the motherboard, RAM sticks plug into blue-colored DIMM slots, the GPU occupies a long PCIe slot, and the SSD connects via an M.2 screw. Labels make it easy to verify correct installation.
Each internal part plays a distinct role. The table below outlines the most common components, their functions, and typical locations within a computer chassis.
| Component | Function | Typical Location |
|---|---|---|
| CPU (Central Processing Unit) | Executes program instructions; handles calculations and logic operations. | Socket on the motherboard, under a heatsink/fan. |
| Motherboard | Connects all components; manages data flow between them. | Base plate; secured to the case with standoffs. |
| RAM (Random Access Memory) | Temporary storage for active programs and data; faster than storage drives. | DIMM slots on the motherboard, usually near the CPU. |
| GPU (Graphics Processing Unit) | Processes visual output; essential for gaming, video editing, and AI tasks. | PCIe x16 slot on the motherboard. |
| Storage Drive (SSD/HDD) | Stores operating systems, applications, and user files permanently. | Mounted in drive bays or attached to the motherboard via SATA or M.2. |
| Power Supply Unit (PSU) | Converts household AC power into regulated DC voltage for components. | Bottom or rear of the case, with multiple cables routed to components. |
Labels help distinguish between similar parts. For example, a 2.5-inch SATA SSD and a 3.5-inch mechanical hard drive both store data but differ in speed and form factor. A labeled diagram clarifies which is which.
One non-obvious fact: the CMOS battery, often overlooked, powers the real-time clock and BIOS settings. It's a small coin-cell battery on the motherboard. Without it, the system loses time and date settings after shutdown. Labeling it prevents confusion during repairs.
Many people confuse the motherboard with the CPU. The CPU is a single chip that processes data, while the motherboard is the circuit board that connects everything. A labeled diagram makes this clear: the CPU sits in a socket on the motherboard, not on top of it.
Another frequent mix-up is between RAM and storage. RAM is volatile memory used during active tasks. When you shut down the computer, RAM clears. Storage devices like SSDs retain data even when powered off. Labels prevent misdiagnosis-e.g., assuming a slow boot is due to low RAM when it's actually a failing SSD.
Some assume all GPUs are installed on the motherboard. But discrete GPUs are separate cards plugged into PCIe slots. Integrated graphics are built into the CPU. A labeled system shows this difference: integrated graphics appear on the CPU die, while discrete GPUs have their own cooling fans and power connectors.
I once helped a friend upgrade his old desktop. He had a 2012 model with a dual-core AMD processor, 4GB of RAM, and a 500GB HDD. The original motherboard had no labels. After opening the case, we used a printed diagram with labeled parts to verify compatibility before buying new components.
We replaced the RAM with 16GB DDR3, upgraded the SSD to a 1TB NVMe drive, and added a dedicated GPU. The labeled diagram helped us confirm the motherboard supported PCIe 3.0 and had enough free M.2 slots. Without labels, we might have ordered incompatible parts.
Labeling is also critical in educational settings. Schools teaching computer science use labeled internal diagrams to teach students about hardware architecture. According to the National Science Teaching Association (NSTA), hands-on identification of components improves retention and understanding of computing fundamentals.
For businesses maintaining fleets of computers, labeled internal layouts reduce repair time. IT teams can quickly diagnose issues-like a failing PSU or loose RAM connection-without disassembling the entire system. This reduces downtime and improves efficiency.
Labeled internal views are useful during:
Always refer to the manufacturer's documentation for accurate labeling. For example, ASUS and MSI provide detailed diagrams for their motherboards. These include pinout maps, LED indicators, and jumper settings-information not visible without labels.
Understanding the inside of a computer labeled is essential for anyone working with hardware. learning computer architecture, clear labeling ensures accuracy, safety, and efficiency.