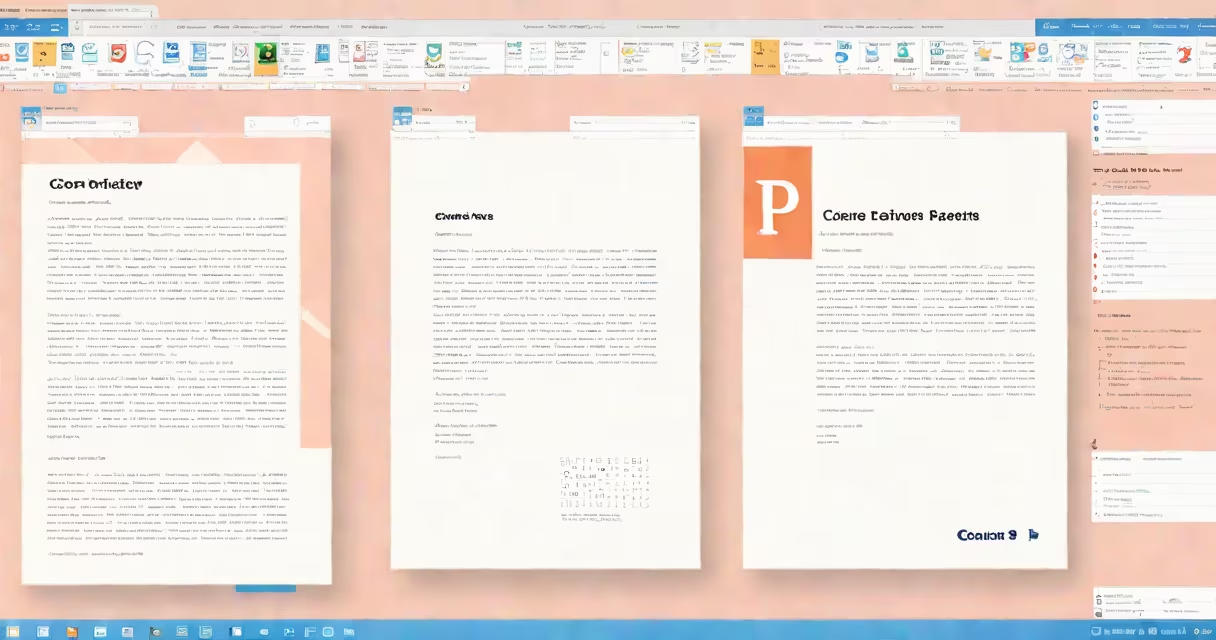
A cover page in Word is a dedicated first page that displays the title, author, institution, date, and other key details for a document. It sets the tone for reports, essays, research papers, and formal submissions. This page appears before the table of contents or main body.
Word offers built-in templates and manual tools to create a cover page quickly. You can use the "Insert" tab to access predefined layouts or build a custom version using text boxes, borders, and alignment tools. The page must be formatted separately from the rest of the document to ensure it doesn't carry headers, footers, or page numbers.
For academic work, a cover page often follows specific guidelines. The American Psychological Association (APA) requires a title, author, institutional affiliation, course number, instructor name, and date. The Modern Language Association (MLA) format includes the student's name, course title, instructor name, and date. Using Word's built-in templates ensures compliance with these standards.
When you insert a cover page in Word, the software treats it as a distinct section. This allows you to apply unique formatting, such as centered text, large fonts, and no header or footer. The page is typically set to "Different First Page" in the header/footer settings, so the main document begins with page numbering on the second page.
To create a cover page manually, place the cursor on the first page, then go to "Insert" > "Cover Page." Choose a template from the gallery. Word automatically adds placeholder text for you to replace. Click on each field and type your content. You can adjust font size, color, and alignment using the Home tab tools.
For advanced users, you can design a cover page using shapes, images, and custom colors. Insert a logo via "Insert" > "Pictures," then resize and position it. Use the "Format" tab under "Drawing Tools" to apply effects like shadows or borders. Always save your changes before printing or submitting.
Word provides multiple cover page styles based on purpose. Academic templates follow APA, MLA, or Chicago formats. Business templates include company logos, project titles, and approval signatures. Personal templates support resumes, portfolios, and creative projects.
| Type | Best For | Key Features |
|---|---|---|
| Academic (APA/MLA) | Research papers, term papers | Centered title, author, institution, date; no page number |
| Business | Reports, proposals, presentations | Company logo, project name, team members, due date |
| Personal | Resumes, portfolios, creative writing | Minimalist design, name, contact info, personal branding elements |
Templates are stored in the "New" document window under "Popular" or "Templates." You can also save a custom cover page as a.dotx file for reuse. To do this, modify a template, then go to "File" > "Save As" and choose "Word Template (*.dotx)" as the file type.
One common mistake is assuming that all templates are compatible with every version of Word. Word 365 and Word 2021 offer more design options than older versions. If you're using Word 2010 or earlier, some templates may not render correctly. Always test the layout before finalizing.
Many users think they can simply type on the first page and call it a cover page. That's not enough. A proper cover page separates content from formatting. If the page shows a header, footer, or page number, it's not valid for most academic or professional submissions.
Another issue is incorrect alignment. Text must be centered vertically and horizontally. Use the "Align Center" button in the Paragraph group. If the text shifts when you add more lines, check that the "Keep with next" option is disabled in the paragraph settings.
Some templates include a blank line below the title. This is intentional. It creates space for a subtitle or department name. Do not delete it unless instructed otherwise. The University of California's Writing Center notes that spacing affects readability and professionalism in formal documents.
Consider a college paper titled "The Impact of Social Media on Adolescent Mental Health." The student uses the APA-style cover page in Word. They enter:
After typing, they select the entire block, set the font to Times New Roman, size 12, and center-align it. They leave the page blank except for the title and metadata. The result is a clean, compliant cover page that meets submission requirements.
I created a similar cover page during my time as a teaching assistant. I used Word's "Formal Report" template, customized it with our department's logo, and added a signature line for faculty approval. The document was accepted without formatting issues.
Never use a cover page with a background image unless required. Many institutions reject documents with distracting visuals. If you must include an image, ensure it's subtle and doesn't interfere with text legibility.
Also avoid mixing fonts. Stick to one serif font (like Times New Roman or Georgia) for formal documents. Sans-serif fonts (like Calibri or Arial) are acceptable for business or internal reports. Consistency improves credibility.
Always double-check spelling and capitalization. A typo in the title or institution name can lead to rejection. Use Word's spell checker, but verify names manually-especially for organizations with unusual spelling.
When submitting to journals or publishers, review their submission guidelines. Some require a specific cover page format with a manuscript ID, conflict of interest statement, or funding disclosure. Word's template system can't handle all these fields. In those cases, build the page manually using tables and text boxes.
Finally, don't assume the template is perfect. Test print a copy. Check margins, alignment, and ink coverage. A misaligned logo or cropped text can ruin the appearance.
Understanding how to make a cover page in Word ensures your document meets professional and academic standards. proposal, a well-designed cover page enhances clarity and authority.