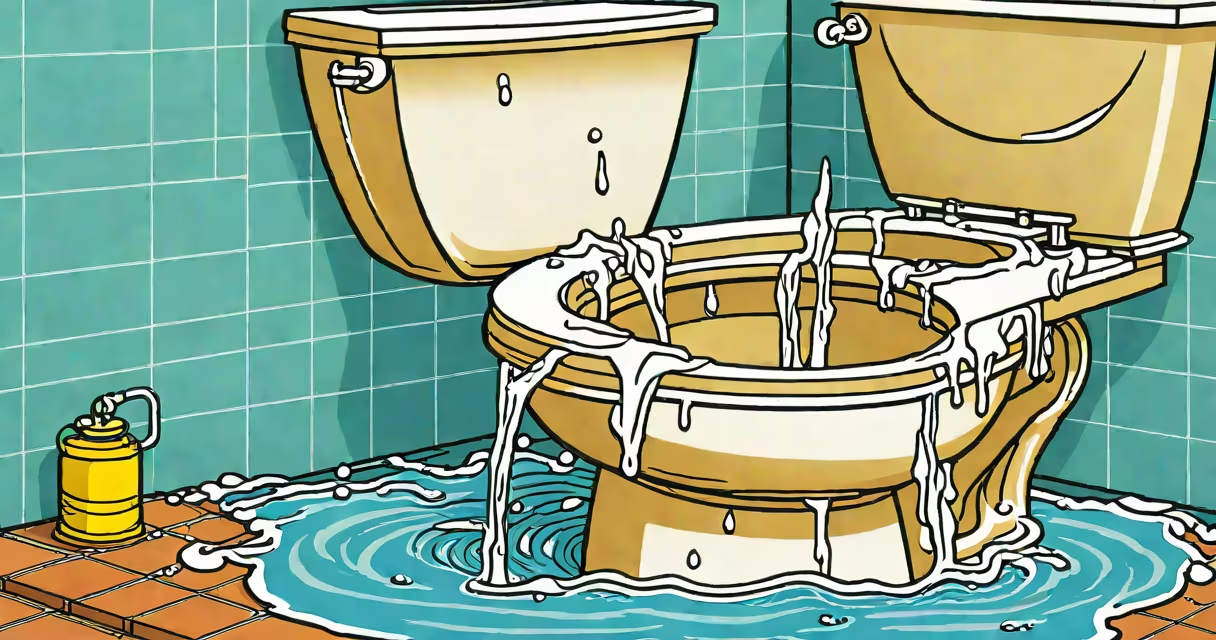
A leaking toilet tank flapper occurs when the rubber seal inside the flush valve fails to close properly, allowing water to continuously drain into the bowl. This wastes 200 gallons or more per day and increases water bills.
The flapper is a small, rubber disc attached to a chain connected to the flush handle. When flushed, the chain lifts the flapper, releasing water from the tank. After flushing, gravity and water pressure should pull the flapper back down to seal the flush valve. If it doesn't seal, water leaks through the hole.
According to the Environmental Protection Agency (EPA), a single leaking flapper can waste up to 200 gallons of water daily-enough to fill a bathtub every 12 hours. Replacing a faulty flapper costs less than $10 and takes under 30 minutes with basic tools.
When you flush the toilet, pulling the handle lifts the flapper via the chain. This opens the flush valve, allowing water to flow from the tank into the bowl. Once the handle is released, the flapper falls back into place due to water pressure and gravity, sealing the valve.
If the flapper doesn't seat properly, water escapes slowly. You'll hear a faint hissing sound or see water level dropping in the tank. The bowl may refill repeatedly, indicating a continuous leak.
Common failure points include warping from mineral buildup, cracking from age, or improper chain tension. A chain too tight prevents full lift; too loose causes delayed closure. The flapper may also stick if debris accumulates on the valve seat.
Flappers come in different shapes and sizes. Most toilets use standard 2-inch or 3-inch flapper valves. The most common types are:
| Type | Use Case | Best For |
|---|---|---|
| Standard Rubber Flapper | Most older and mid-range toilets | Low cost, easy replacement |
| Fluidmaster Dual-Flush Flapper | Toilets with dual-flush mechanisms | Adjustable flush volume, better seal |
| Universal Flapper (e.g., Fluidmaster 400 series) | Any standard 2-inch valve | One-size-fits-most, long-lasting |
Always match the flapper size and shape to your toilet's flush valve. Measuring the valve diameter and checking the flapper's mounting holes ensures compatibility. Using the wrong size leads to poor sealing and recurring leaks.
Non-obvious fact: Some flappers have a weighted rim or reinforced hinge design to improve sealing under low water pressure. These are ideal for homes with weak municipal supply or older plumbing systems.
Begin by turning off the water supply at the shutoff valve behind the toilet. Flush the toilet to empty the tank. Close the valve and disconnect the supply line to drain remaining water.
Remove the old flapper by detaching the chain from the flush lever arm and lifting the flapper off the flush valve seat. Note the orientation-some flappers have a notch or alignment mark for proper installation.
Install the new flapper by aligning the ears with the valve's mounting posts. Reattach the chain to the flush lever arm, ensuring it has 1/4 inch of slack. Too much slack delays closure; too little causes premature lift.
Turn the water back on slowly. Let the tank refill and observe the flapper seal. Listen for hissing or dripping. If the leak persists, adjust the chain or check for debris on the valve seat.
Test the flush cycle. The flapper should lift fully and fall back within 1-2 seconds. If it wobbles or doesn't seal, the flapper may be warped or the chain too tight.
One frequent error is using a flapper that's too large or too small. A mismatched flapper won't seal properly, even if installed correctly. Always measure the flush valve diameter before buying.
Another mistake is over-tightening the chain. A taut chain restricts the flapper's movement, causing incomplete closure. The chain should allow the flapper to drop fully without resistance.
I once replaced a flapper in a 1990s American Standard toilet and noticed persistent leaks. After checking, I found mineral deposits had built up on the valve seat. Cleaning it with vinegar and a soft brush resolved the issue. The flapper still needed replacing, but cleaning improved the seal.
Some toilets use a flapper with a floating float mechanism. If the float is damaged or misaligned, the flapper won't close. Check the entire flush assembly, not just the flapper.
Replace the flapper if it's cracked, brittle, or shows signs of wear. If the leak continues after replacement, the flush valve seat may be damaged or corroded. A worn seat requires professional repair or replacement.
Also consult a plumber if the toilet runs intermittently despite a new flapper. This could indicate a problem with the fill valve or float mechanism. The fill valve controls water level and shuts off when full. If it fails, the tank overflows or refills constantly.
For older toilets with outdated flush systems, consider upgrading to a high-efficiency model. The EPA estimates that replacing a 3.5-gallon-per-flush toilet with a 1.28-gallon model reduces annual water use by 13,000 gallons per household.
Fixing a leaking toilet tank flapper is a straightforward task that saves water and money. Identify the cause, choose the correct replacement, and follow the steps precisely. A properly sealed flapper stops waste and maintains system efficiency.