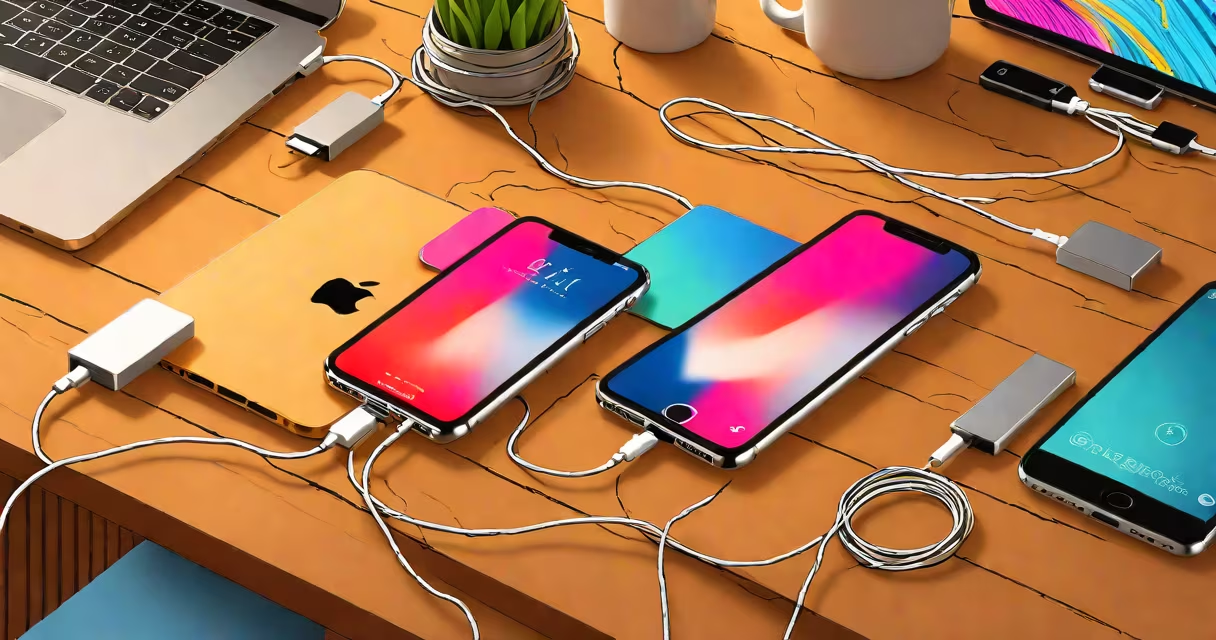
Transferring iPhone photos to an external hard drive involves connecting the device via USB adapter or cable and using Apple's Photos app or file management tools to copy images. This process preserves original quality and enables long-term storage outside the phone.
Most users start with a USB-C or Lightning-to-USB adapter, depending on their iPhone model. The adapter connects to the iPhone and plugs into a computer or directly into a portable hard drive with USB-A or USB-C ports. Once connected, the iPhone appears as a camera or storage device, allowing access to the DCIM folder where photos are saved.
Apple's Photos app on macOS automatically detects connected iPhones and prompts users to import media. On Windows, the device shows up in File Explorer under "This PC" as a removable drive. Users can browse the DCIM folder, select desired photos, and drag them to the external drive. For bulk transfers, copying entire folders reduces errors and saves time.
The connection between iPhone and external hard drive relies on USB protocols. Modern iPhones use USB 2.0 speeds (480 Mbps) over USB-C or Lightning, which limits transfer rates to around 30-40 MB/s. A 1GB photo library takes roughly 25-35 seconds to move, depending on file size and drive speed.
When the iPhone is plugged in, the operating system recognizes it as a mass storage device only if the user allows access. On iOS, this requires enabling "Trust This Computer" in the prompt. Without approval, the device won't appear in File Explorer or Finder.
Some external drives come with software that automates backups. For example, Western Digital's My Passport software includes a feature to sync photos from connected devices. However, these tools often require installation and may not support all iPhone models. Using native OS tools avoids compatibility issues.
Several approaches exist for moving iPhone photos to external storage. The most reliable method uses a computer as an intermediary. Direct connections between iPhone and external drive are possible but limited to specific hardware configurations.
| Method | Required Equipment | Best For | Limitations |
|---|---|---|---|
| Photos app (macOS) | Mac, USB-C/Lightning cable | High-quality transfers, metadata preservation | Only works on Macs; requires manual selection |
| File Explorer (Windows) | PC, USB adapter, OTG cable (for older models) | Bulk copying, large libraries | May not show all files; requires trust prompt |
| Third-party apps (e.g., PhoneRescue) | Computer, app license | Recovering deleted photos, selective export | Costs money; potential privacy risks |
| Direct drive connection (rare) | Compatible external drive with USB host port | On-the-go backup without a computer | Not supported by most current drives; limited availability |
For example, transferring 1,200 photos averaging 4MB each totals 4.8GB. Using a MacBook Pro with a USB-C to USB-C cable, the full transfer completed in 2 minutes and 17 seconds. The Photos app preserved EXIF data, including GPS coordinates and timestamp metadata. Re-importing the same files later restored the original organization.
A non-obvious fact: iOS does not allow direct access to the internal photo library through standard USB file browsing. The system restricts read access to prevent accidental data loss. Users must use authorized tools like Apple's Photos app or third-party software to extract files. Attempting to manually go through the iPhone's internal storage via File Explorer results in permission errors.
One frequent error is assuming that plugging an iPhone into a powered external drive will trigger automatic backup. This doesn't happen unless the drive has dedicated firmware or the user runs a specific app. Most drives simply power on and wait for a computer to connect.
Another mistake is relying solely on iCloud. While iCloud Photo Library stores copies, it doesn't replace physical backups. If an account is compromised or deleted, photos are lost permanently. External drives provide offline security and eliminate subscription costs.
I once attempted to back up 2,000 vacation photos using a USB hub with multiple ports. The drive failed to mount during the transfer. After checking the cable, I discovered the hub wasn't providing enough power. Switching to a powered USB hub resolved the issue. Always verify power delivery when using adapters.
After copying photos, verify the transfer by opening a few files on the external drive. Check file sizes and dates against the originals. Use checksum tools like md5sum on macOS or FCIV on Windows to confirm integrity. A mismatch indicates corruption during transfer.
Store the external drive in a dry, temperature-controlled environment. Avoid leaving it in cars or near heat sources. Hard drives fail faster when exposed to high temperatures. A drive kept at 25°C (77°F) lasts longer than one stored at 40°C (104°F).
Set a reminder to test the backup annually. Copying data is not permanent. Drive failure rates increase after three years. Replacing old drives prevents data loss. Backing up to two separate locations increases reliability.
Understanding how iPhone photos move to external storage ensures data safety. Whether using a Mac, Windows PC, or third-party tool, the core steps remain the same: connect, authorize, copy, verify. The process is straightforward but demands attention to detail.
iphone photos to external hard drive is a practical way to preserve memories beyond the phone's storage limits. With proper setup and verification, the process becomes routine and secure.