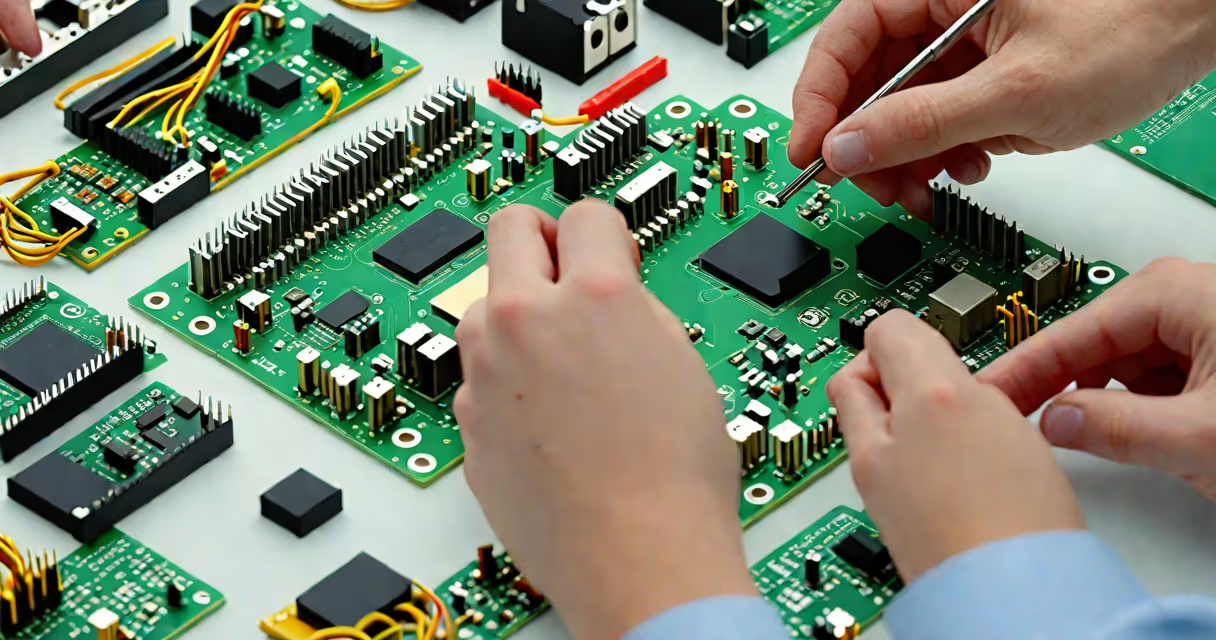
Assembling and disassembling of computer refers to the physical construction and deconstruction of a desktop computer system, involving the integration of components like the motherboard, CPU, RAM, storage, power supply, and case. This process enables customization, repair, upgrades, or recycling of hardware.
Building a computer begins with preparing a static-safe workspace and identifying compatible parts. The core sequence includes mounting the CPU and cooler onto the motherboard, inserting RAM modules into their slots, securing the motherboard into the case, connecting power supplies, and attaching storage drives. Disassembly follows the reverse order, removing components carefully to avoid damage.
Each step requires attention to detail. For example, aligning the CPU's golden triangle with the socket notch prevents bent pins. Misaligned RAM can cause boot failure. A single loose SATA cable may result in no drive detection. These tasks demand familiarity with component interfaces and mechanical tolerances.
Start by grounding yourself using a wrist strap or touching a metal surface. Open the case by removing side panels-typically secured with thumbscrews or Phillips screws. Place the motherboard on a flat, non-conductive surface like cardboard or an anti-static mat.
Install the CPU by lifting the retention arm on the socket, placing the processor with the alignment mark facing the correct direction, then lowering the arm. Apply thermal paste-about the size of a pea-on the CPU die before mounting the cooler. Secure the cooler with the included brackets and tighten evenly to avoid warping the chip.
Insert RAM sticks into DIMM slots, pressing until the side clips snap shut. Ensure both sides lock. Connect the 24-pin ATX power cable to the motherboard and the 8-pin EPS cable to the CPU power connector. Attach the PSU to the case's rear mount and route cables through cutouts.
Mount the motherboard into the case using standoffs. Align screw holes and insert screws only after confirming all standoffs are in place. Install storage devices: SSDs into M.2 slots or SATA ports, HDDs into drive bays with screws. Finally, connect front-panel headers-power button, reset, USB, audio-to the motherboard.
The following table outlines the essential parts and their functions during assembly:
| Component | Function | Assembly Note |
|---|---|---|
| Motherboard | Central hub for all components | Must match CPU socket type (e.g., LGA 1700) |
| CPU | Processes instructions and runs software | Never touch the gold contacts; use the retention arm |
| RAM | Temporary memory for active programs | Use dual-channel mode: install in matching color slots |
| SSD/HDD | Stores operating system and files | M.2 SSDs require no cables; SATA drives need data and power cables |
| Power Supply | Converts AC to DC for internal components | Choose 80 Plus certified for efficiency; ensure wattage meets system needs |
Some systems use integrated graphics; others require a discrete GPU. If adding a GPU, insert it into a PCIe x16 slot and secure with a screw. Connect the GPU's power cables from the PSU if needed.
A common mistake is over-tightening screws. Only hand-tighten standoffs and case screws. Over-tightening can crack the motherboard or strip threads. Always double-check connections before powering on.
One frequent error is installing RAM in the wrong slot. Dual-channel performance depends on using the correct pair of DIMM slots-usually labeled A2 and B2. Using only one stick or mismatched slots reduces bandwidth and causes instability.
Another issue is incorrect cable routing. Loose cables can block airflow or interfere with fans. Use zip ties or Velcro straps to bundle and secure cables behind the motherboard tray. This improves cooling and reduces dust accumulation.
Thermal paste application is often misunderstood. Too much paste spreads and creates air pockets. Too little leads to poor heat transfer. A pea-sized amount centered on the CPU die is sufficient. Reapply only when replacing the cooler.
When disassembling, label cables before removal. Use colored tape or sticky notes to mark which port each cable connects to. Reassembly becomes faster and less error-prone. For example, the front panel power switch connects to PWR_SW on the motherboard-miswiring prevents booting.
In 2023, I assembled a desktop using an AMD Ryzen 5 5600X, 16GB DDR4 RAM, a 1TB NVMe SSD, and a GTX 1660 Super. The motherboard was an ASUS TUF B550-PLUS. I followed the manufacturer's manual for CPU installation and used a thermal pad for the cooler.
I ran into issues with the M.2 SSD not being detected. After checking the BIOS, I discovered the NVMe slot was disabled. Enabling it under Advanced > Boot Configuration resolved the problem. The root cause was a BIOS setting defaulting to SATA-only mode.
After booting, the system displayed a black screen. I checked the monitor cable and confirmed it was plugged into the GPU's HDMI port-not the motherboard. Switching the cable fixed the display. This highlights that visual feedback depends on correct peripheral connection.
Once running, I used HWiNFO64 to verify temperatures and clock speeds. Idle CPU temperature was 42°C; under load, it reached 72°C-within safe limits. The system maintained stable performance for 12 hours of gaming and video rendering.
Assembling and disassembling of computer is not the same as installing an operating system. Installing Windows or Linux involves formatting drives and copying files-tasks done after hardware assembly. You cannot boot without a working OS, but the OS doesn't affect hardware compatibility.
It also differs from upgrading individual parts. Replacing a hard drive or adding RAM is maintenance, not full assembly. Full assembly implies building from scratch-starting with unboxed components.
A key distinction: disassembly is not destructive. Components can be reused. A properly removed GPU or RAM module remains functional. But improper handling-such as pulling a CPU out while the cooler is still attached-can bend pins and render the processor unusable.
Professionals use assembling and disassembling of computer for system deployment, repairs, and upgrades. IT departments rebuild machines every 3-5 years to extend lifespan. Schools and libraries rely on custom builds to meet budget constraints.
According to the U.S. Bureau of Labor Statistics, computer support specialists earn a median annual wage of $60,000 (2023). Many roles require hands-on hardware skills. The CompTIA A+ certification exam includes questions on safe disassembly procedures and component identification.
For hobbyists, building a PC offers control over performance and cost. A custom rig with a 3060 Ti GPU and 32GB RAM costs $1,200-$300 less than a comparable prebuilt. This savings comes from avoiding brand markup and choosing components based on actual needs.
When troubleshooting, disassembly allows access to diagnostic points. A failing PSU may not trigger error codes. Removing it and testing with a known-good unit isolates the fault. Similarly, cleaning dust from heatsinks restores cooling efficiency-critical for sustained performance.
Assembling and disassembling of computer is a foundational skill in computing. It combines mechanical precision, electrical safety, and technical knowledge. Success hinges on preparation, patience, and adherence to documented procedures.